HOW TO CLEAN A VAPE: QUICK FIXES TO KEEP IT FRESH
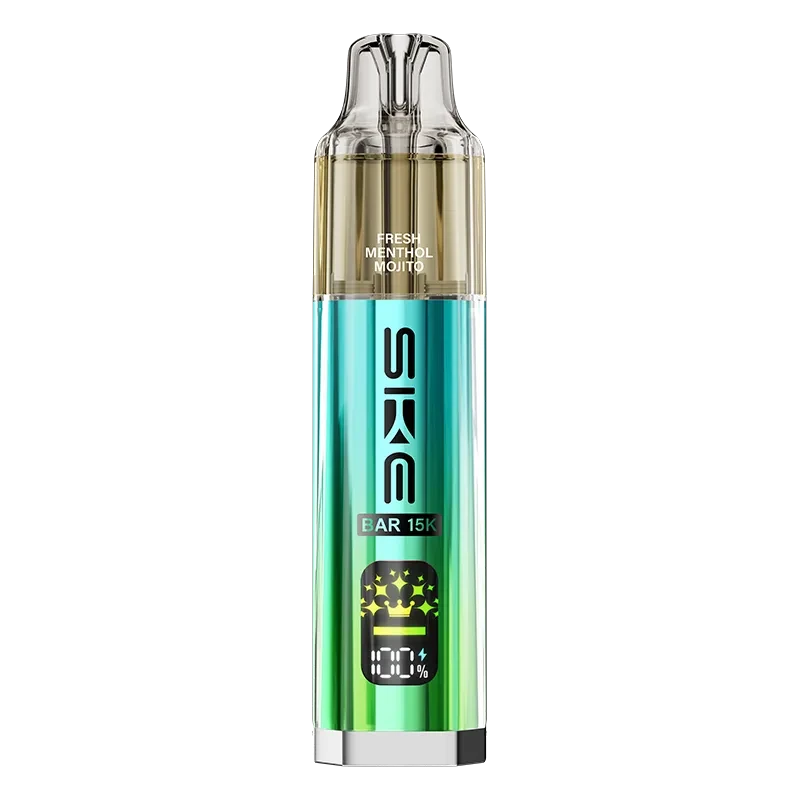
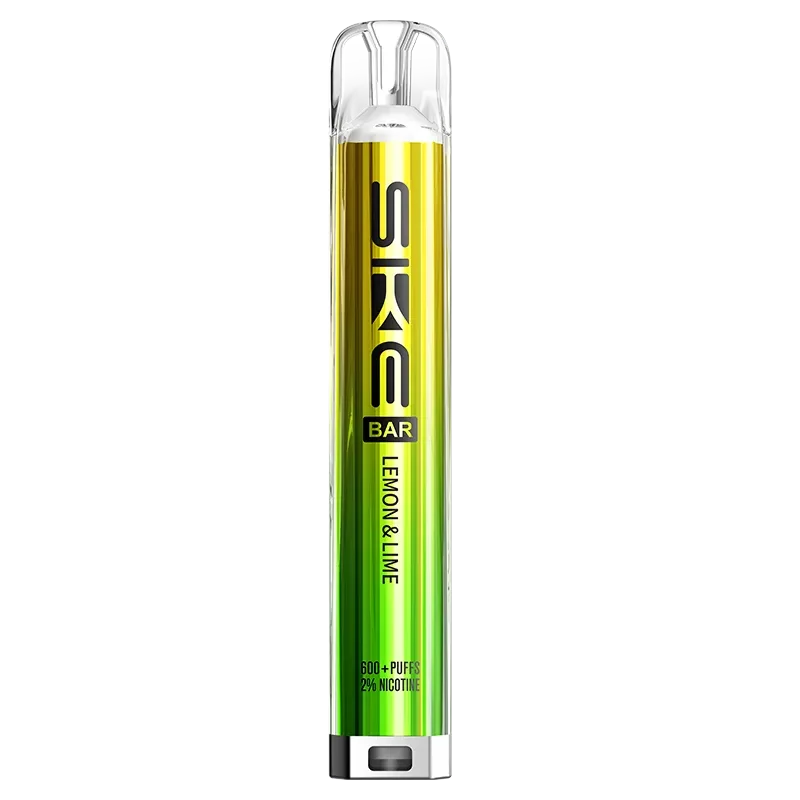
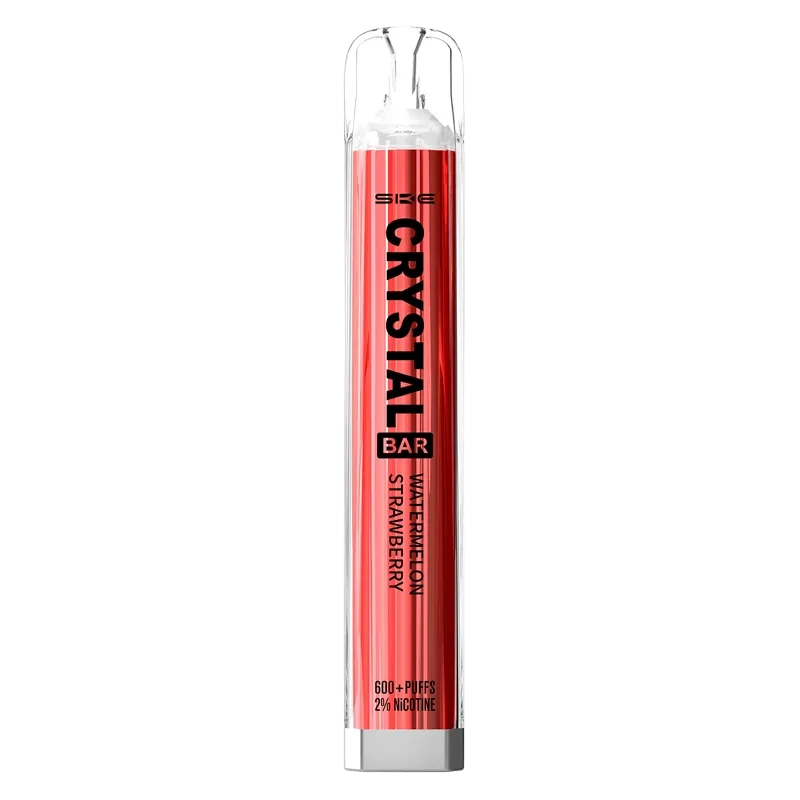
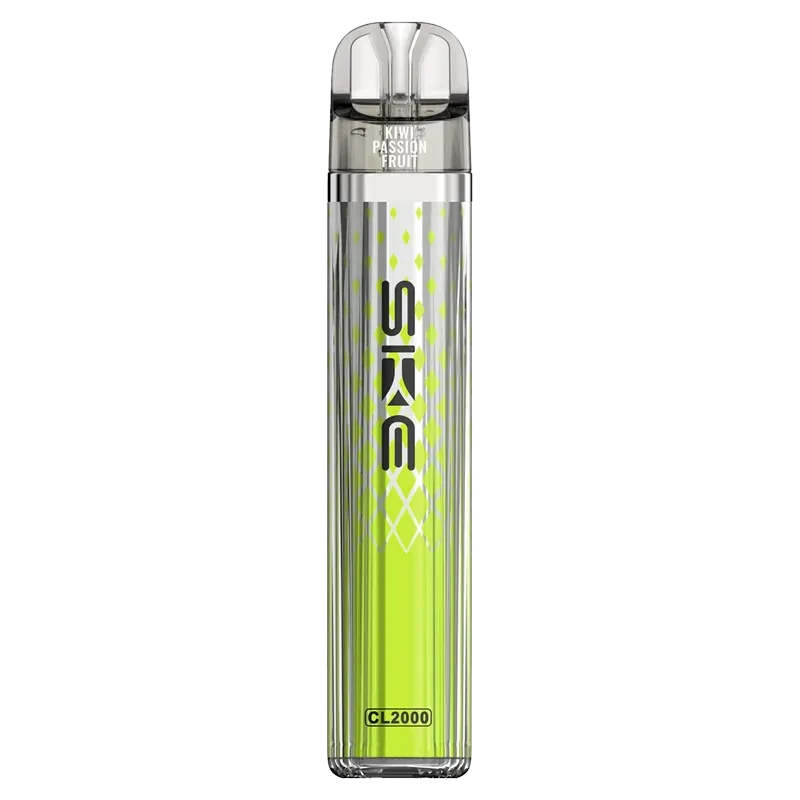
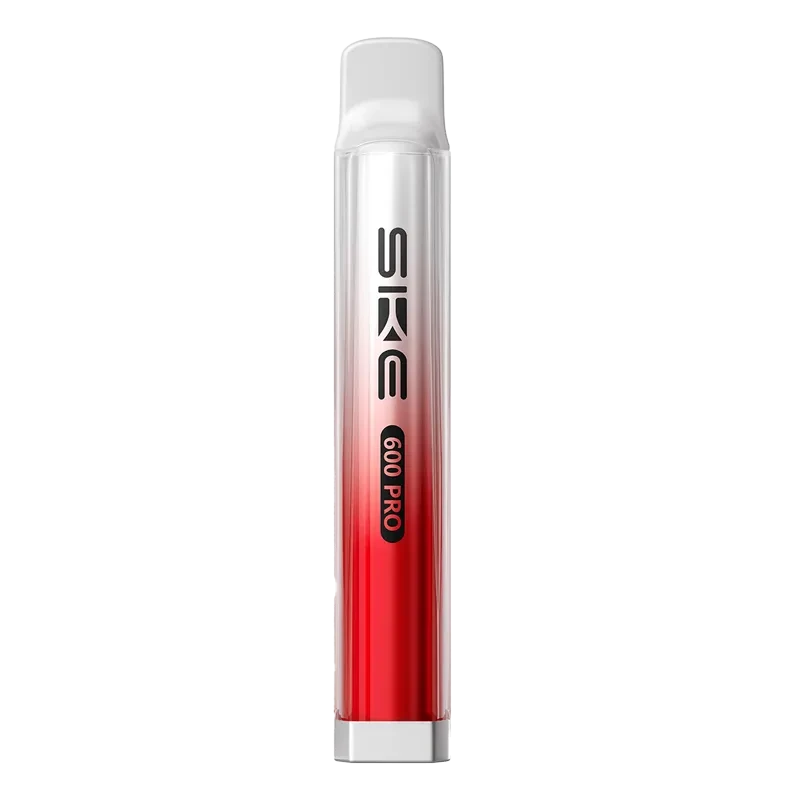
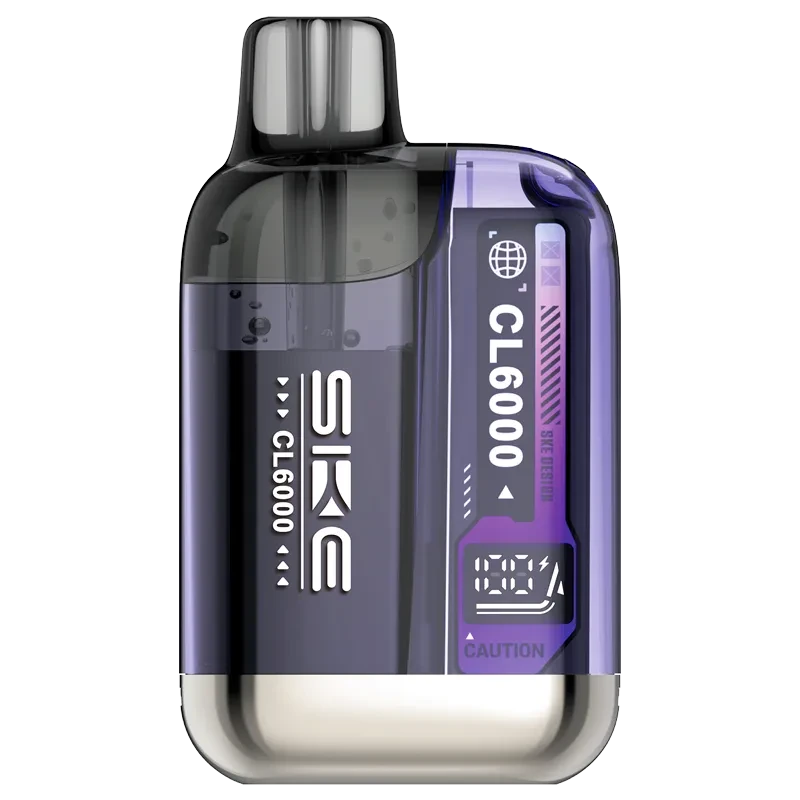
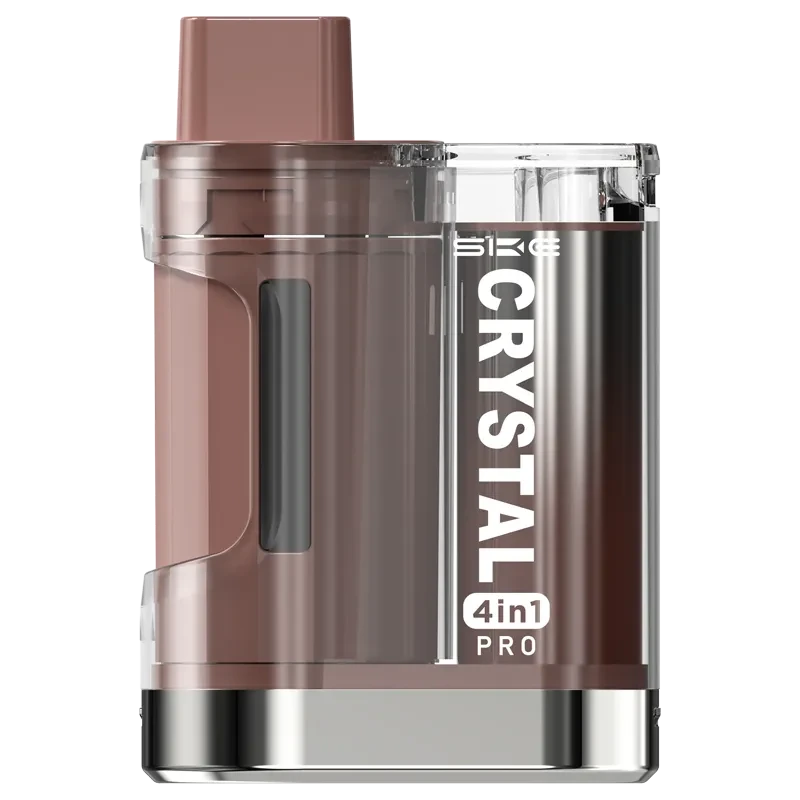
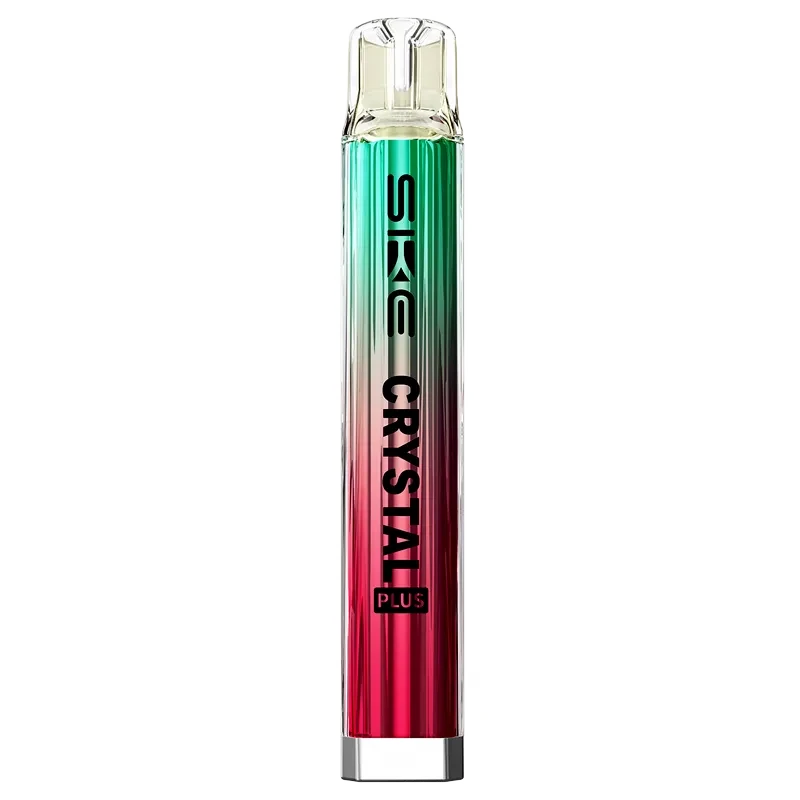
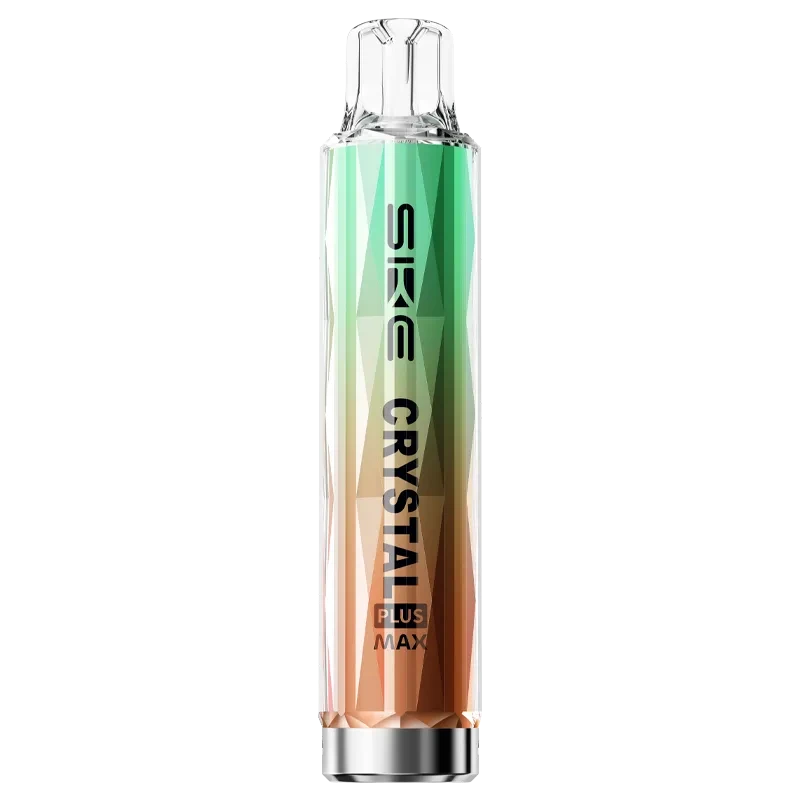
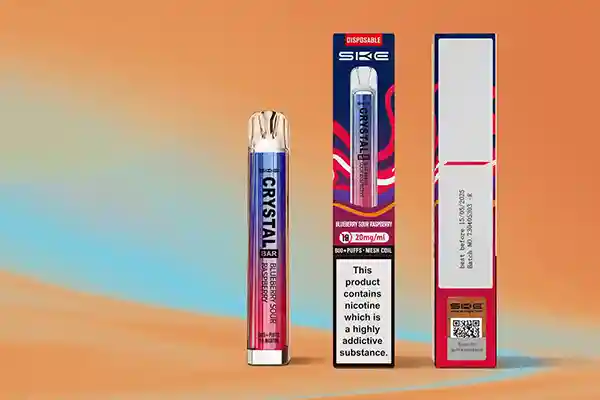
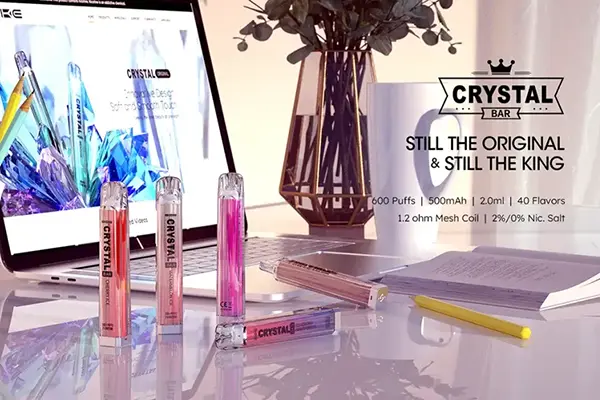
As vaping becomes a staple in the daily lives of enthusiasts, how to clean a vape is crucial for optimal performance and safety. In this blog, we'll pore over the nitty-gritty of cleaning your vape device such as Crystal Bar or Crystal Plus vape, focusing on the often-asked vape cleaning questions - how to clean a vape mouthpiece, how to clean a vape cartridge, how to clean a vape coil, and how to clean a vape battery. Well, let’s get started.

Why Vape Cleaning Matters
You may consider the vape cleaning can be troublesome, but we also list some cleaning benefits to help you keep going:
Advantage #1: Prolonging Vape Life
Regular vape cleaning reduces oil and residue buildup, preserving the intricate parts and mechanics of your vape device. This not only ensures longevity but also saves you from frequent replacements.
Advantage #2: Safety First
Clean vape devices mean fewer issues related to old oil or extracts. Ensuring a clean vape reduces health and safety risks associated with inhaling grimy materials.
Advantage #3: Enhanced Performance
Cleaning promotes easier draws and smoother hits by preventing airflow issues that may arise from clogged vape cartridges. A well-maintained vape device ensures a consistently enjoyable vaping experience.
Advantage #4: Cost-Effective Cleansing
Regular cleaning reduces the need for replacement vape parts, as power connections and batteries stay functional for more extended periods. A small investment in cleaning materials saves you from unnecessary re-purchasing.

How to Clean a Vape Guide
Routine cleaning not only extends the life of your vape device but also ensures a smooth and safe vaping experience. Here's a pithy step-by-step guide to cleaning your vape device.
Step #1: How to Disassemble a Vape
1. Turn Off the Device
Before beginning, ensure the vape is fully powered down to prevent electrical short circuits or unintentional heating while handling the internal components. The power-off process might involve clicking the power button several times as the user manual indicates.
2. Remove the Tank
The tank is typically screwed onto the battery base and holds the e-liquid. To detach it, gently twist it counterclockwise until it comes free. Please handle the tank carefully since it's often made of glass or delicate plastic that could crack or shatter if mishandled.
3. Detach the Coil
The coil is crucial for heating the e-liquid and can become clogged over time. In some models, the coil will screw directly into the base of the tank; in others, it may snap into place. Use caution to avoid damaging the delicate wires and wicking material.
4. Battery and Other Components
If your vape pen includes a removable battery, gently separate it from the rest of the device. Be mindful of the battery’s orientation and any connectors, which can be sensitive. For vape pens with integrated batteries, skip this step. Also, check for any additional components that can be removed, such as mouthpieces or airflow control valves, which may require cleaning or replacement.

Step #2: How to Clean a Vape Mouthpiece
1. Inspection
Meticulously inspect the removed vape mouthpiece for the presence of visible debris, residues, or any accumulations of e-liquid, dirt, or particles that may have adhered to its surfaces. It's crucial to identify areas that require targeted cleaning and confirm that all contaminants are addressed during the maintenance process.
2. Rinse with Warm Water
Submerge the mouthpiece in warm running water and carefully apply mild pressure, allowing the water flow to effectively loosen and remove any superficial residue and particles that might have accumulated from regular use.
3. Soaking for Deep Cleaning
Submerge the mouthpiece in a cleaning solution made from warm water and mild dish soap, or consider using a specialized cleaning solution like isopropyl alcohol for more stubborn residues. Soaking for about 30 minutes should be sufficient to break down most build-ups. For non-water-soluble residues, like oily substances, isopropyl alcohol is particularly effective. Rinse under running water again to remove the soap residue to ensure no soap taste remains after rinsing.
4. Scrubbing the Details
Use a small gentle brush (an old toothbrush works well) or a cotton swab to meticulously scrub both the interior and exterior of the mouthpiece. Focus on any crevices or narrow parts where residue can easily accumulate. For extremely narrow or hard-to-reach areas, a thin wire or needle wrapped in cotton might be helpful to dislodge any hidden grime.
5. Rinse and Dry Thoroughly
Regarding glass mouthpieces, contemplate immersing them in a solution comprising warm water, salt, and isopropyl alcohol, allowing them to soak. After scrubbing, rinse the mouthpiece again under warm water to remove any remaining cleaning agents and loosened debris. Guarantee all soap and alcohol residues are completely washed away to avoid inhaling any harmful residues when vaping.
6. Complete Drying Before Reassembly
Dry the mouthpiece thoroughly with a soft, lint-free cloth and leave it out to air dry to ensure all moisture has evaporated. Pay attention, moisture in the mouthpiece can lead to mold growth or be pulled into the vape’s internal components, potentially causing damage.

Step #3: How to Clean a Vape Coil
1. Dry Burn the Coil (if applicable)
Some coils allow for dry burning to clean off excess residue via pulsing the fire button a few times, allowing the coil to heat up and burn off residue. It's important to perform this step moderately to avoid overheating, which can permanently damage the coil.
Remember, not all coils are suitable for dry burning, especially those with cotton wicks, as it can burn the cotton.
2. Soaking
Immerse the coil in rubbing alcohol or vinegar for several hours to help break down and dissolve the e-liquid residue and other gunk that accumulates with regular use. Some vapers prefer using specialized coil cleaning solutions available in the market, designed to preserve the integrity of the coil while removing residues effectively.
3. Rinsing
After soaking, thoroughly rinse the coil under warm running water to remove any traces of alcohol, vinegar, or cleaning solution. Double-check no potentially harmful residues are left on the coil that could be inhaled.
4. Drying
Allow the coil to air dry completely on a clean paper towel or cloth before reinstallation to avoid any risk of short-circuiting the device. The drying process can take several hours, and rushing this step can lead to vape malfunctions.
5. Reassembling
Reinstall the dry and clean coil in your vape pen. Verify it's securely in place and that all connections are correct to provide optimal performance. After reassembly, it's often best to prime the coil by adding a few drops of vape juice directly to the wicking material before using the device.
Step #4: How to Clean a Vape Battery
1. Wipe Down
Use a clean, dry microfiber cloth to gently wipe the battery, which is ideal as it won’t leave any fibers or residues that could interfere with the battery’s connections. Avoid using any moisture or conductive substances to prevent any risk of short-circuiting.
2. Check for Corrosion
Inspect the terminals and the battery surface for any signs of damage, corrosion, or excessive wear, including but not limited to leaks, corrosion, or irregularities, ensuring a comprehensive assessment of its overall condition.
If you detect any corrosion, lightly dip a cotton ball, pad, or Q-tip with isopropyl alcohol and gently rub it on the affected areas to clean it off. Be careful not to let any alcohol seep into the battery itself.
3. Dry Thoroughly
After cleaning, ensure that the battery and its terminals are completely dry. Any residual moisture can cause damage or affect the performance of the battery when reinstalled.
4. Reassemble
Carefully put the battery back into the device, ensuring it fits securely and correctly. Reattach any covers or compartments, and ensure that the device is assembled correctly before turning it on.

Step #5: How to Clean a Vape Tank
1. Rinse Components
Wash all non-electrical parts under warm running water to help dissolve e-liquid residues and flush out loose debris. Concerning parts with stubborn residues, using a soft brush or a microfiber cloth can help remove grime without scratching sensitive surfaces.
2. Soak in Cleaning Solution
For more intensive cleaning, soak the disassembled parts in a solution of isopropyl alcohol or warm water mixed with a mild dish soap. The soaking time can vary, but generally, a few hours should be sufficient to break down and dissolve most residue. If using isopropyl alcohol, avoid prolonged contact with plastic parts to prevent damage.
3. Dry Thoroughly
Ensure all components are thoroughly air-dried after cleaning to prevent moisture retention before reassembly. You can gently pat parts dry with a clean paper towel, but avoid using any fabric that might leave lint behind.
4. Reassemble and Inspect
Once all parts are dry, reassemble your vape tank carefully, checking that all seals are intact and that the tank is reassembled correctly to prevent any leaks. Verify everything is tightly screwed or fitted together.
To conclude, knowing how to clean a vape device is essential for every enthusiast. Regular cleaning not only guarantees a safe and smooth vaping experience but also prolongs the life of your beloved vape device. By following these steps and tips, you'll ensure that each hit is clean, potent, and enjoyable. Stay tuned for more vape pen education and explore our premium collection at SKE Crystal Vapes.
FAQs:
Q1: How often should you clean your vape pen?
Tailor the frequency of cleaning to align with individual vaping habits, crafting a routine responsive to indicators such as sticking components, diminishing flavor, or instances of clogging, as consistent cleaning practices significantly contribute to the prolonged functionality and longevity of the vape device.
Q2: How to disinfect a vape tip?
Disinfecting a vape tip is a straightforward process that involves removing the tip from the vape device, wiping both the exterior and interior surfaces with a cotton ball, pad, or q-tip dipped in isopropyl alcohol, ensuring thorough coverage to eliminate any accumulated germs.

Q3: Can I clean my vape mouthpiece with alcohol?
Yes, you can effectively clean your vape mouthpiece using alcohol, specifically isopropyl alcohol. To do so, remove the mouthpiece from your vape device, dip a cotton ball, pad, or q-tip into isopropyl alcohol, and gently wipe down both the outside and inside of the mouthpiece. Ensure thorough cleaning to remove any residues or germs that may have accumulated.
If the mouthpiece is made of glass, you can take it a step further by letting it soak in a small container with a mixture of warm water, salt, and isopropyl alcohol for a more comprehensive cleanse.
Q4: Why is the tip of my vape sticky?
The stickiness on the tip of your vape may be attributed to the accumulation of residue from the vaporized e-liquid, which can include sweeteners and other compounds present in the vape juice. This residue tends to build up over time as you use your vape, leading to a sticky sensation.
Using isopropyl alcohol or a suitable cleaning solution is recommended to remove this residue, ensuring a clean and enjoyable vaping experience while also preventing potential hygiene issues associated with stickiness.
Q5: Why does my vape tip get clogged?
The clogging of your vape tip can occur due to various factors, primarily the accumulation of condensed vapor residue, often containing elements like waxes, oils, or other byproducts from the e-liquid, within the narrow channels or airflow passages of the tip. Additionally, the presence of debris, dust, or particles from the environment can contribute to the clogging issue.
Regular cleaning, for instance, cleaning the vape tip thoroughly with isopropyl alcohol and ensuring proper storage to minimize exposure to external elements, can help prevent and alleviate the problem of clogging.
TABLE OF CONTENTS
- Why Vape Cleaning Matters
- Advantage #1: Prolonging Vape Life
- Advantage #2: Safety First
- Advantage #3: Enhanced Performance
- Advantage #4: Cost-Effective Cleansing
- How to Clean a Vape Guide
- Step #1: How to Disassemble a Vape
- 1. Turn Off the Device
- 2. Remove the Tank
- 3. Detach the Coil
- 4. Battery and Other Components
- Step #2: How to Clean a Vape Mouthpiece
- 1. Inspection
- 2. Rinse with Warm Water
- 3. Soaking for Deep Cleaning
- 4. Scrubbing the Details
- 5. Rinse and Dry Thoroughly
- 6. Complete Drying Before Reassembly
- Step #3: How to Clean a Vape Coil
- 1. Dry Burn the Coil (if applicable)
- 2. Soaking
- 3. Rinsing
- 4. Drying
- 5. Reassembling
- Step #4: How to Clean a Vape Battery
- 1. Wipe Down
- 2. Check for Corrosion
- 3. Dry Thoroughly
- 4. Reassemble
- Step #5: How to Clean a Vape Tank
- 1. Rinse Components
- 2. Soak in Cleaning Solution
- 3. Dry Thoroughly
- 4. Reassemble and Inspect
- FAQs:
- Q1: How often should you clean your vape pen?
- Q2: How to disinfect a vape tip?
- Q3: Can I clean my vape mouthpiece with alcohol?
- Q4: Why is the tip of my vape sticky?
- Q5: Why does my vape tip get clogged?

